
Turn any photo into a cinematic drone flight with a hand-drawn route and a ready-to-use prompt.
Pick a photo. Draw the flight you want. Ask Seedance 2.5 to turn it into a cinematic FPV video.
This tutorial explores a creative use of the new Seedance 2.5 model: using a marked reference image to guide a fast, continuous first-person flight. The effect combines rapid climbs, sweeping orbits, close passes, and a wide final reveal in one shot. You provide the scene and route; the model generates the moving viewpoint.
Use the Drone FPV Flight template on Wery
The effect in one short example
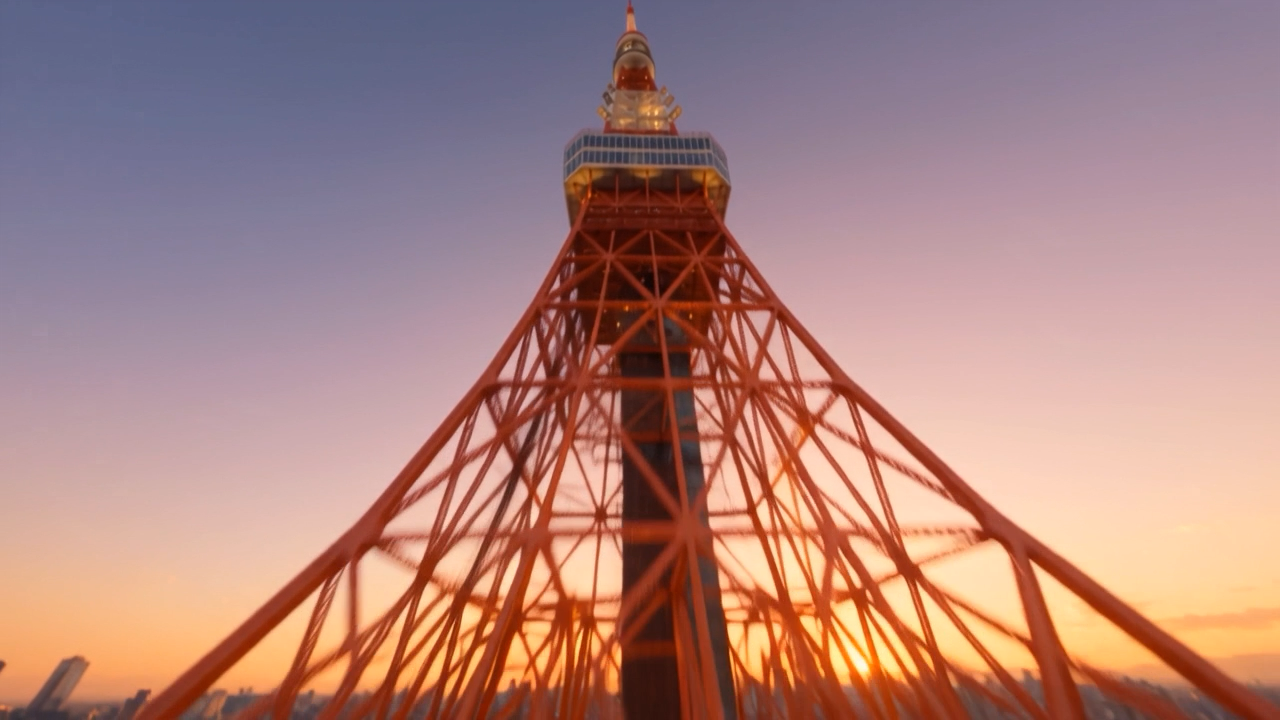
In the supplied 15-second example, the camera rises beside Tokyo Tower, banks around it, crosses the rooftops, and weaves through high-rises before opening onto the skyline. Tokyo Tower is simply the example landmark. You can build the same type of brief around a bridge, hotel, mountain, or another scene you want to explore.
The useful capability is translating a still reference and motion instructions into a changing FPV perspective. The drawn line guides the route; it should disappear from the generated scene. Treat it as visual guidance, with room for the model to interpret the path.
Step 1 Find a photo you want to fly through
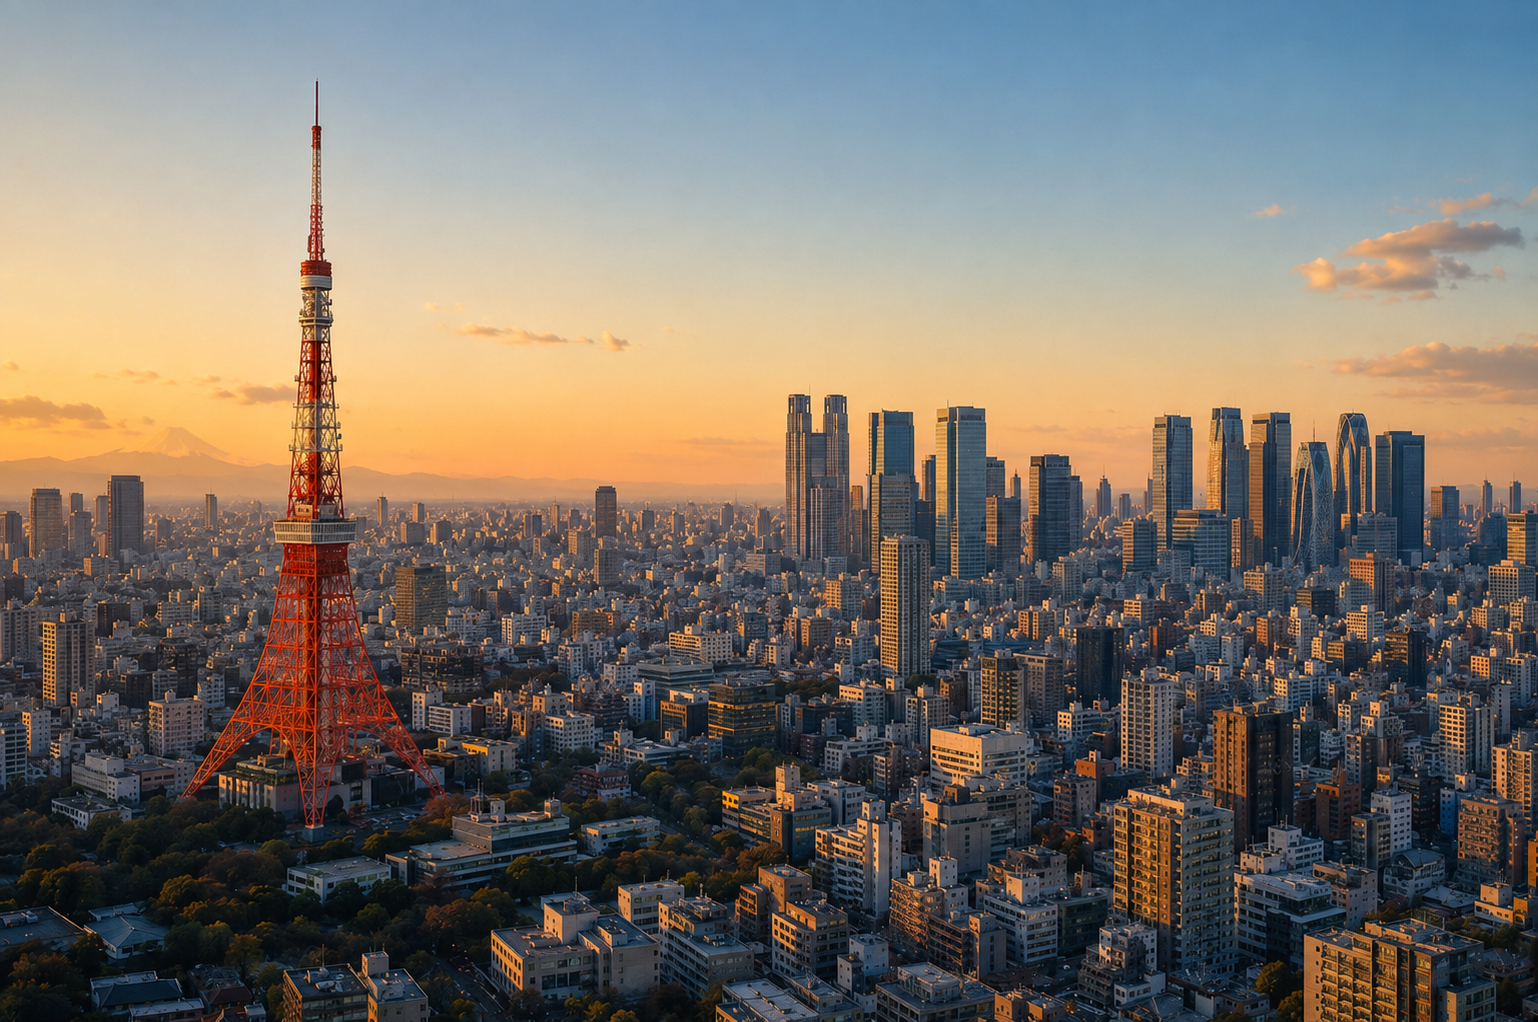
Choose a clear photo with an obvious subject and enough surrounding space for the camera to travel. A wide city view, bridge, coastal landscape, or mountain scene is a useful starting point. Look for visible depth: something close to begin beside, a middle distance to cross, and a destination farther away.
Save a clean copy before adding any marks. You do not need to use the Tokyo example or include a famous landmark. Choose the scene for the flight you want to make.
Step 2 Draw the route directly on the photo
Open the photo in any image editor or phone markup tool. Draw one continuous line showing where the camera should start, what it should pass, and where it should finish. A contrasting color makes the route easy to distinguish from the scene.
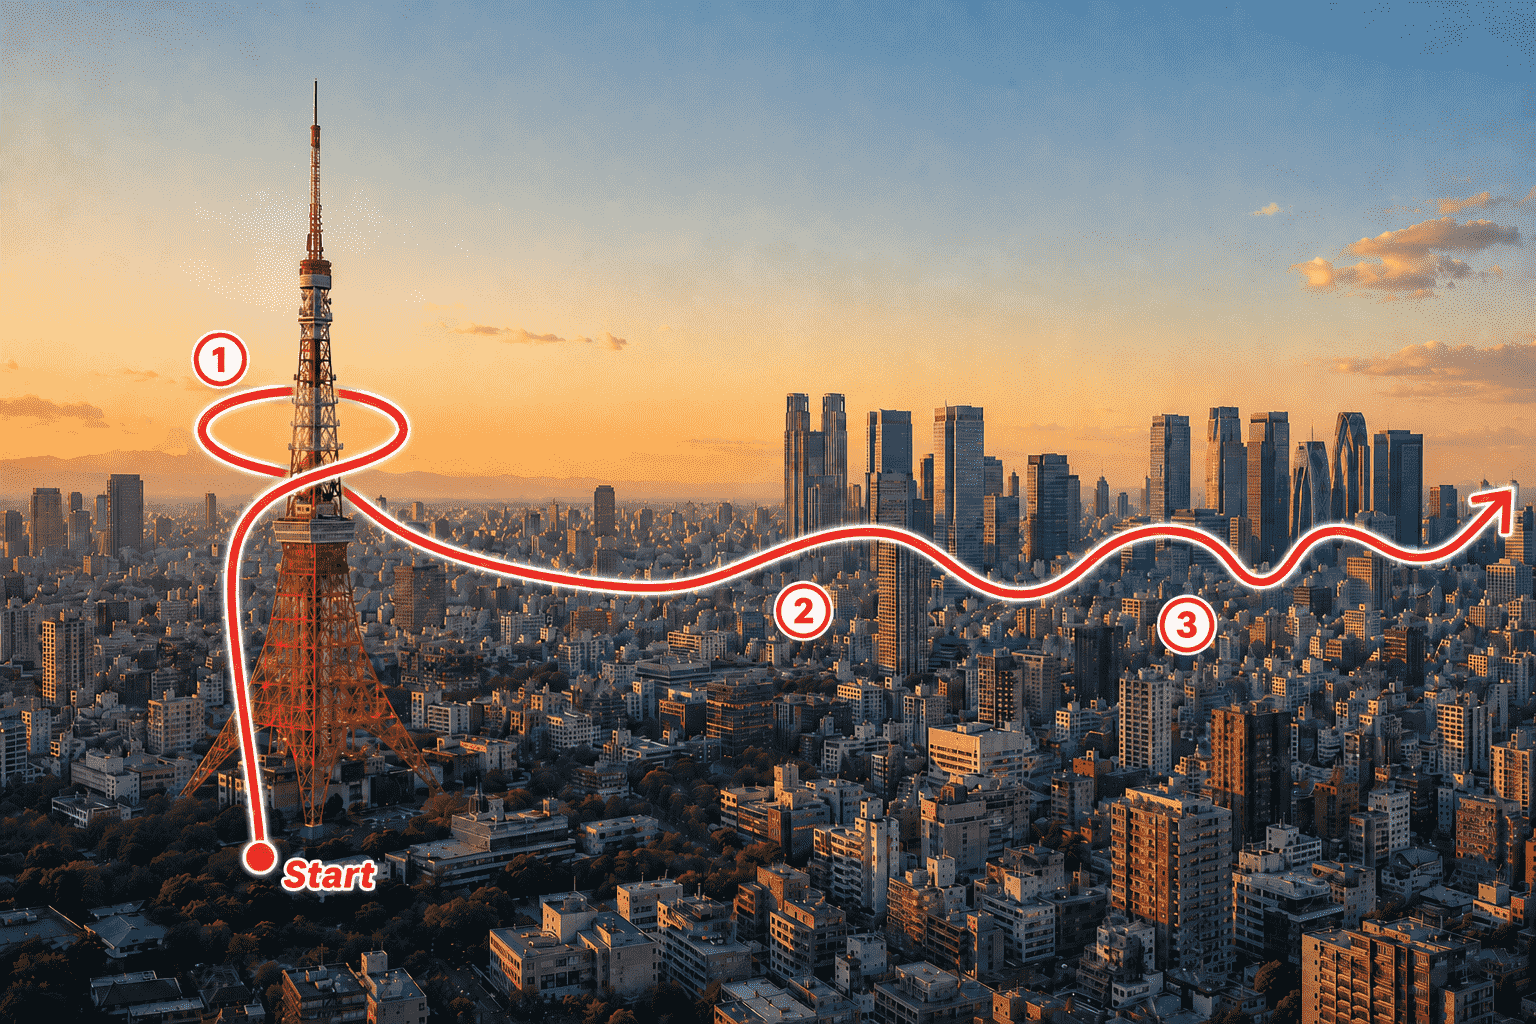
You can leave out the numbers entirely. A simple hand-drawn path is enough to communicate the idea. Add an arrow at the end if the direction could be ambiguous. Use a loop for an orbit and bends for weaving, then describe climbs and dips in the prompt so their intended movement is clear.
Keep the route readable and avoid covering the main subject. Export the marked image when you are done.
Step 3 Upload the image and copy the prompt
Choose Seedance 2.5 in the image-reference video workflow and upload your marked photo. For a clip like the example, use a 15-second duration and a 16:9 output where these settings are available. Copy the prompt below and replace the bracketed details to match your photo.
Describe the moves in the order they should happen. For example: start beside the bridge, climb along its tower, bank around the top, follow the water, then finish facing the open coast. Match the prompt to your drawn path so both inputs describe the same flight.
Step 4 Generate and review the result
Generate the video, then watch for three things: whether it starts in the intended place, follows the main route in order, and removes the annotations. If the path drifts, simplify the line or reduce the number of maneuvers before generating again. A clear route with a few strong moves is easier to direct than several competing instructions.
Use our template directly
You can also use our Drone FPV Flight template on Wery directly. Prepare your photo with a hand-drawn route, open the template, and adapt the scene instructions for your own flight. It gives you a starting point for creating this Seedance 2.5 effect without rebuilding the prompt from scratch.